Hang Smart, Leave No Marks

Today we explore damage-free mounting methods for smart sensors, cameras, and hubs, helping renters, homeowners, and office managers secure technology confidently without drilling, patching, or repainting. Discover proven adhesives, clever clamps, magnetic approaches, and clean removal techniques that protect finishes while optimizing performance, reliability, and aesthetics in living rooms, kitchens, hallways, entryways, and outdoor transitions. Share your experiences, subscribe for updates, and learn how to make every installation look intentional, sturdy, and completely reversible.

Know Your Surfaces and Loads

A reliable, mark-free installation begins with understanding the surface and the direction of force your device introduces. Painted drywall, tile, glass, metal, and brick each behave differently under shear and peel loads, especially near edges, seams, or existing imperfections. Clarify device weight, cable tug, and vibration, then choose mounting strategies designed to respect finishes. This foundation prevents surprises, extends device life, and makes removal smooth, predictable, and stress-free.

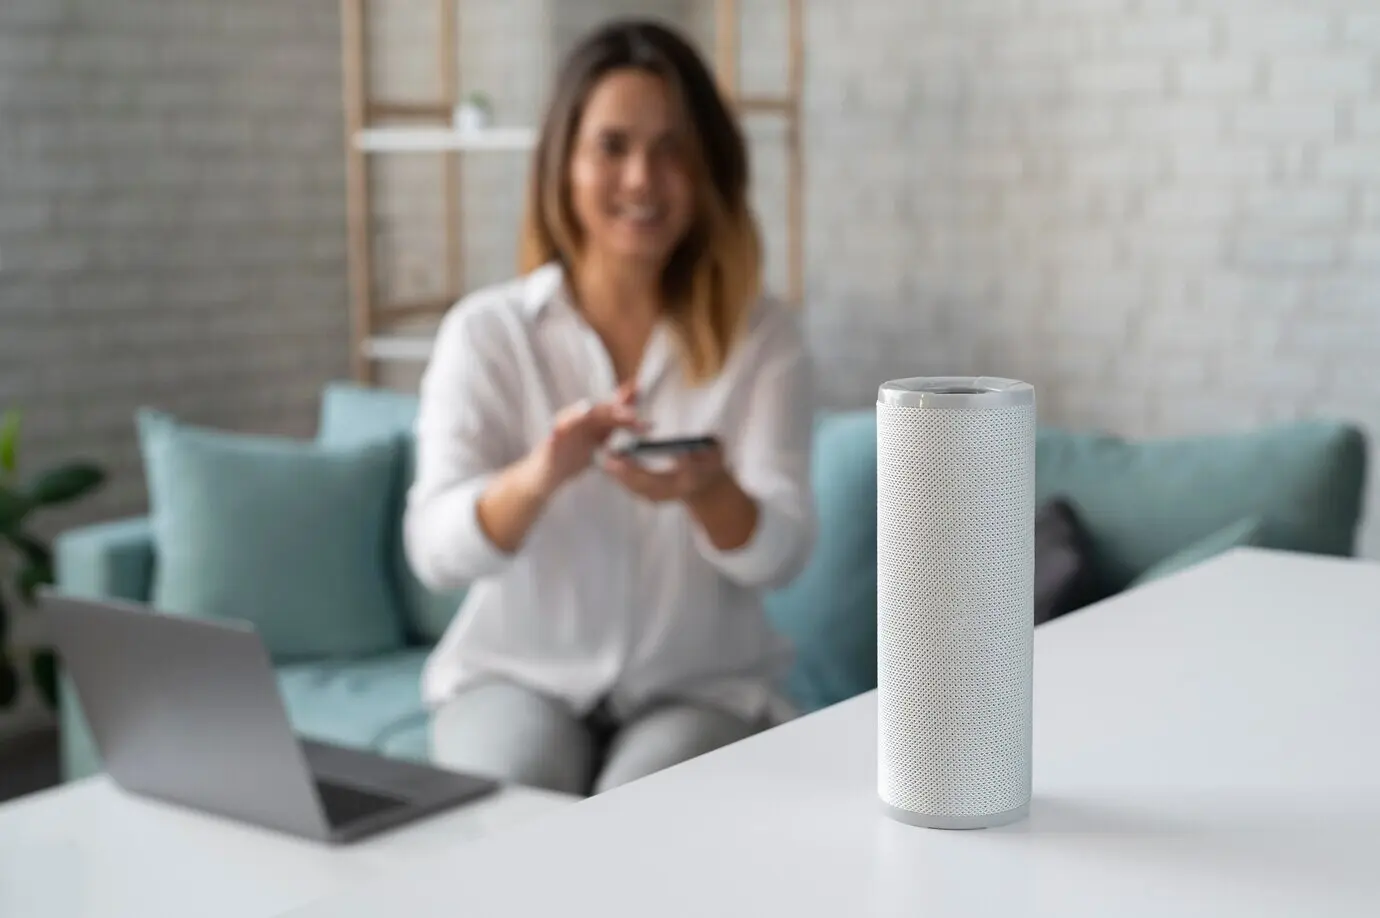
Removable Pull-Tab Strips for Featherweight Sensors

Pull-tab adhesives are ideal for window contact sensors, motion detectors, and leak sensors. After cleaning the surface, apply with steady pressure and wait before loading. The stretch-release tab lets you remove hardware later without tearing paint. Use vertical orientation to favor shear, pair with small alignment guides, and leave tab access visible but discreet. For cold climates, warm both strip and surface slightly to promote consistent bonding in challenging seasons.

Reclosable Fasteners for Serviceable Hubs and Bridges

When you might need to reboot, reposition, or replace a gateway, reclosable fasteners provide a satisfying snap that holds firmly yet detaches cleanly. They distribute force broadly, reduce peel risks, and tame cable stress. Stick one side to the device backing plate and the other to the wall, cabinet, or furniture panel. The added stand-off can improve airflow and wireless performance, keeping electronics cool, accessible, and neatly aligned behind décor or equipment.

High-Tack Gel Pads and VHB with Gentle Exit Plans

For heavier cameras or outdoor junction plates, gel pads and VHB tape deliver serious strength without screws if you plan removal carefully. Use larger surface areas, edge rounding, and slow bonding pressure. When relocating, soften adhesive using mild warmth, then slide dental floss behind the plate in a sawing motion. Remove residue with citrus-based cleaner and a plastic scraper. This approach preserves paint and trim while providing robust, professional-looking stability.

Magnetic, Suction, and Tension Options

Not every solution needs adhesive. Magnetic adapters pair with thin steel stickers to create elegant mounts on wood and drywall without damage. Suction works on glass and tile, especially in kitchens and bathrooms, while tension and clamp systems grip between surfaces without holes. These options shine where repositioning is frequent or surfaces are delicate. Combine them with cable clips to finish cleanly, reduce tripping hazards, and maintain effortless serviceability.

Magnetic Couplers with Hidden Steel Targets

Stick a paint-safe steel target behind frames, inside cabinets, or beneath shelves, then attach your camera or sensor via a magnetic puck. This approach enables fast adjustments and subtle cable routing. Magnets naturally resist shear and are easy to realign for perfect angles. Avoid placing near compasses or reed switches if sensitivity is critical. For thin drywall, choose wider targets to spread load, and always confirm the magnet won’t slide during vibration.

Suction Mounts That Survive Steam and Splashes

Suction shines on mirrors, tiles, and shower glass for humidity sensors and temporary cameras. Clean surfaces meticulously, avoid silicone residues, and dampen the cup slightly before seating. Many cups include locking levers that maintain vacuum over weeks. Re-seat periodically if exposed to steam bursts. In kitchens, place away from grease paths and high-heat zones. Consider using a tether or lanyard as a secondary catch in case of pressure loss during temperature swings.

Tension Rods, Clamps, and Freestanding Solutions

Floor-to-ceiling tension poles, bookshelf clamps, and desk-edge mounts deliver stable platforms with zero wall contact. They are perfect for renters and for spaces with difficult finishes like exposed brick or plaster. Add adhesive-backed cable guides to keep power neat, and use small ball-head adapters for precise camera angles. When measuring, protect contact points with felt pads. These structures move easily during redecorating, making experimentation painless and entirely reversible without touch-up paint.

Placement for Performance and Privacy

Mounting without damage is only half the mission; devices must also see, sense, and communicate optimally. Choose heights, angles, and offsets that maximize coverage while respecting privacy, avoiding glare, and minimizing false triggers. Keep radios clear of obstructions, and align motion sensors across likely paths. Consider pets, curtains, and HVAC drafts. Test placements with temporary tape before committing. Balancing these factors ensures reliable alerts, crisp footage, and comfortable day-to-day living.

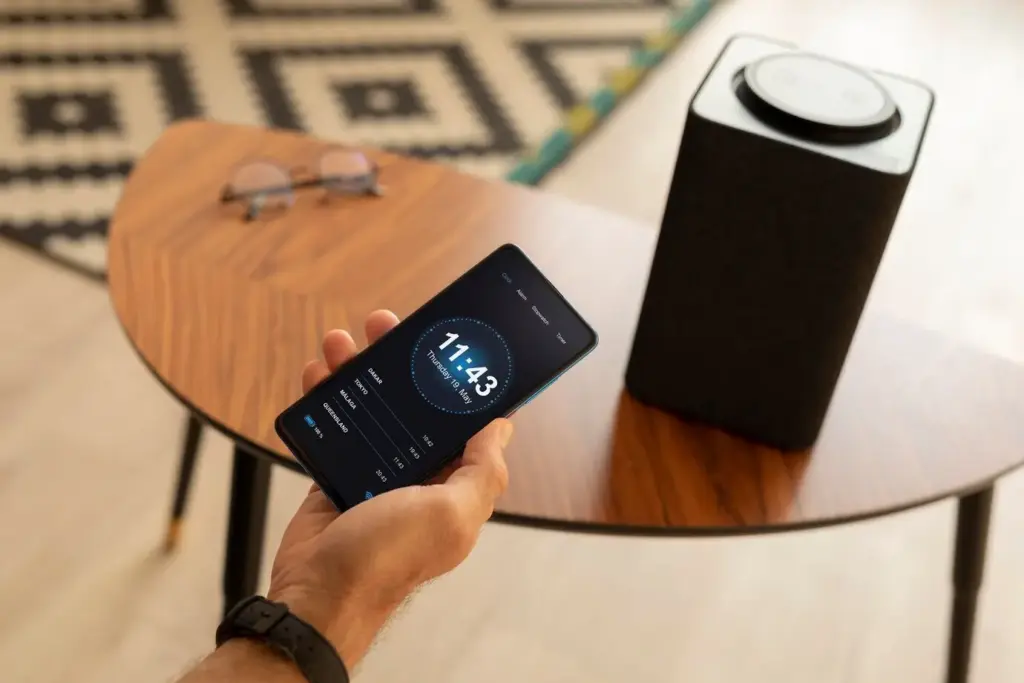
Power and Cable Routing with Zero Damage

Adhesive Clips, Paintable Raceways, and Invisible Paths

Start with a dry fit, then clean surfaces thoroughly. Stick cable clips every six to ten inches, aligning with natural edges to hide lines. For longer spans, use paintable raceways that match trim. Heat cables slightly to relax bends, and avoid tight kinks. Leave a bit of slack near devices for service. These subtle decisions create a tidy, intentional appearance that complements interiors while keeping everything fully removable and entirely renter-friendly.

Battery, Solar, and Low-Voltage Strategies

Where outlets are scarce, battery-powered sensors and cameras shine. Choose high-capacity cells and schedule recording smartly to extend runtime. Solar trickle panels work at windows or balconies when paired with suction or clamp mounts. For hubs, consider compact USB power banks during outages. Always arrange strain relief loops, and avoid running power lines where doors or drawers can pinch. A thoughtful power plan preserves reliability and keeps walls pristine, untouched, and beautiful.

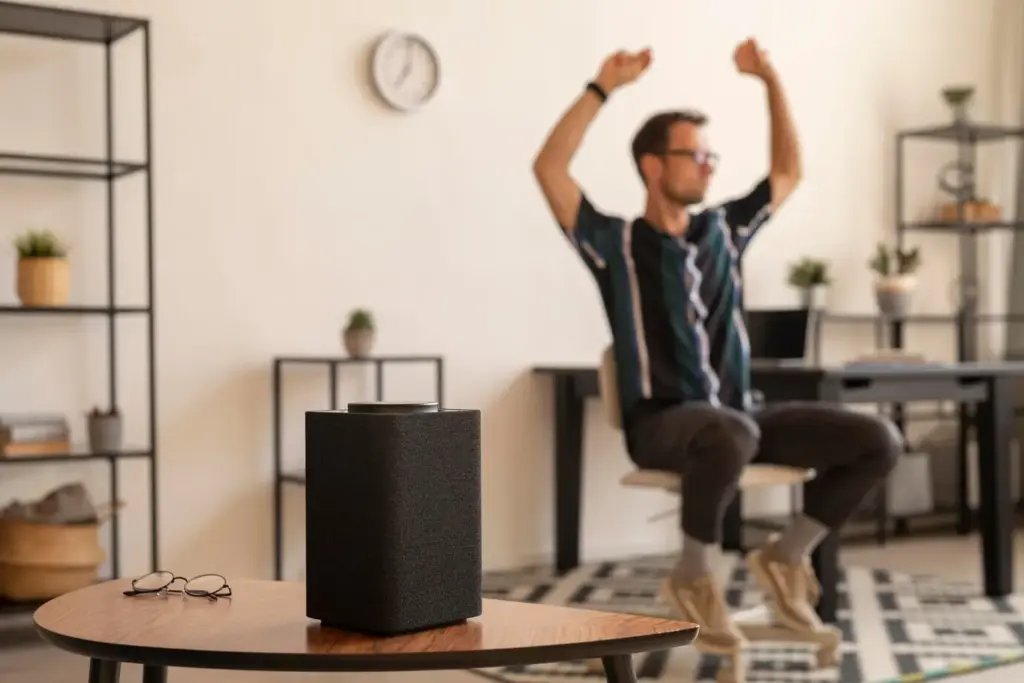
Using Existing Plates, Furniture, and Hidden Spaces

Re-purpose outlet covers, media cabinets, bookshelves, and picture frames to conceal hubs, bridges, and cable slack. Mount lightweight backer plates behind décor using removable strips, then attach devices with reclosable fasteners. Route wires along furniture edges for stealthy runs. This technique leverages structures already present, avoiding holes while improving signal placement. The result looks intentional, feels organized, and lets you relocate everything in minutes without spackle, sanding, or tedious repainting chores.

Outdoor and Challenging Environments

Exterior and high-moisture spaces demand strategies that respect weather, UV exposure, and temperature swings. Favor surfaces like metal, sealed glass, or smooth siding when possible, and use rated adhesives or mechanical tension mounts. Protect cable entrances with drip loops and removable sealants. Test placements during wind. Plan for seasonal re-seating to refresh bonds. These practices protect paint, keep devices aligned, and ensure dependable operation even when conditions fluctuate dramatically across day and night.

Clean Removal and Move-Out Day Confidence

Warm, Slow, and Parallel: The Gold Standard Technique

For pull-tab strips, pull straight down, close to the wall, keeping the strip parallel to the surface. For strong tapes, gently warm the plate to relax the adhesive, then apply dental floss in a sawing motion. Patience is everything. Rushing risks paint tears. Work methodically around edges, and support the device as it releases. This calm, deliberate approach preserves surfaces and restores spaces to pristine condition without stress or last-minute surprises.

Residue Removal Without Paint Damage

After detaching the device, soften remaining adhesive with a cloth dampened in citrus remover or mineral spirits appropriate for cured paint. Rub lightly in one direction, never scrubbing aggressively. Use plastic scrapers instead of metal. Finish with a mild soap wipe and water rinse, then dry completely. If sheen differs slightly, a gentle buff with a microfiber cloth helps. These small, careful habits leave walls spotless and inspection-ready.

Pack, Label, and Reinstall with Ease

Reuse is a huge advantage of damage-free setups. Save spare strips, fasteners, and cable clips in small labeled bags paired with each device. Note recommended cure times and surface prep steps on a card. During the next install, you will move faster, avoid mistakes, and replicate perfect angles easily. Share your checklist with friends, and subscribe for printable templates. Organized habits turn quick experiments into polished, repeatable, professional-looking results.
Zukemoruzavilalu
Privacy Overview

This website uses cookies so that we can provide you with the best user experience possible. Cookie information is stored in your browser and performs functions such as recognising you when you return to our website and helping our team to understand which sections of the website you find most interesting and useful.